Introducing the Codeit Import Wizard
Introduction
The Codeit Import Wizard in Codeit allows you to import raw data files for tagging.
It is a simple 5 step process that makes data importing simple, intuitive and quick.
This document provides a short guide on how to use this feature.
Step 1 - Select Project
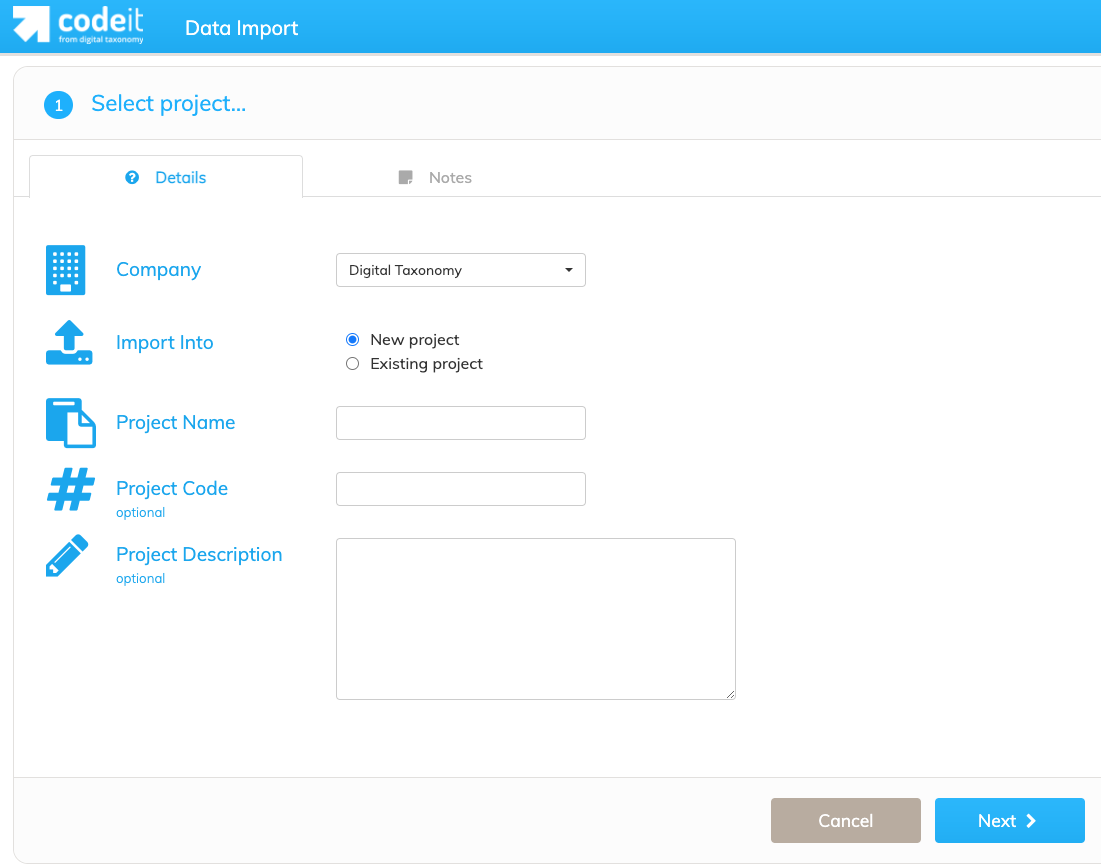
This step lets you specify details about the project you are about to import a file into. Most of the time, this will be a New Project. However, there are some cases where you may need to import files into an Existing Project.
When importing a file into a new project, you will need to specify a Project Name for this new project. Optionally, you may also specify a Project Code as a prefix, if your projects follow a specific naming convention or a Project Description.
Step 2 - Select file to import
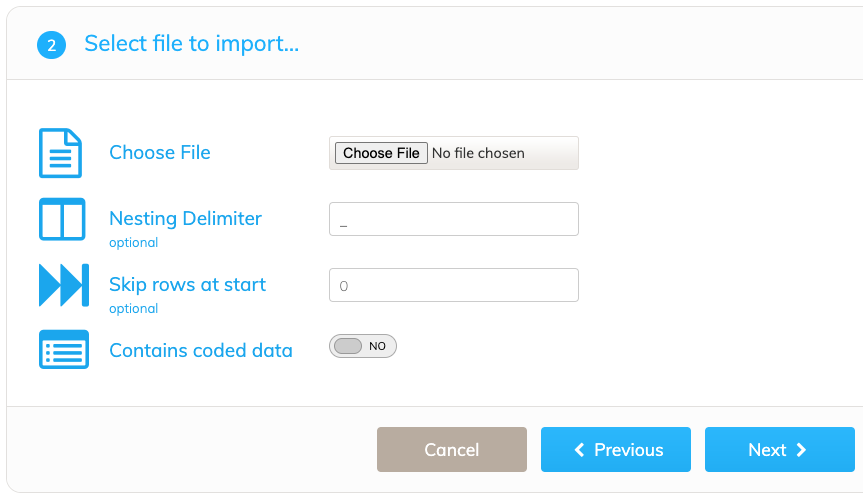
Step 2 in the import process lets you choose which file you wish to import into Codeit. You may also specify an optional nesting delimiter if you are importing nested data (more information on this can be found in Step 3).
A number of rows can be skipped since data files may include descriptive information within the first few rows.
Previously coded data may be imported to Codeit. Toggling the "Contains coded data" setting will allow an easier setup when matching the coded values to the code frames used.
Codeit currently supports importing files in Comma-Delimited Values(CSV) or Excel (XLSX) format using the Import Wizard. Excel workbook files may include multiple worksheets to be imported. Codeit also supports importing Ascribe XML files through a slightly different process.
Step 3 - Include fields
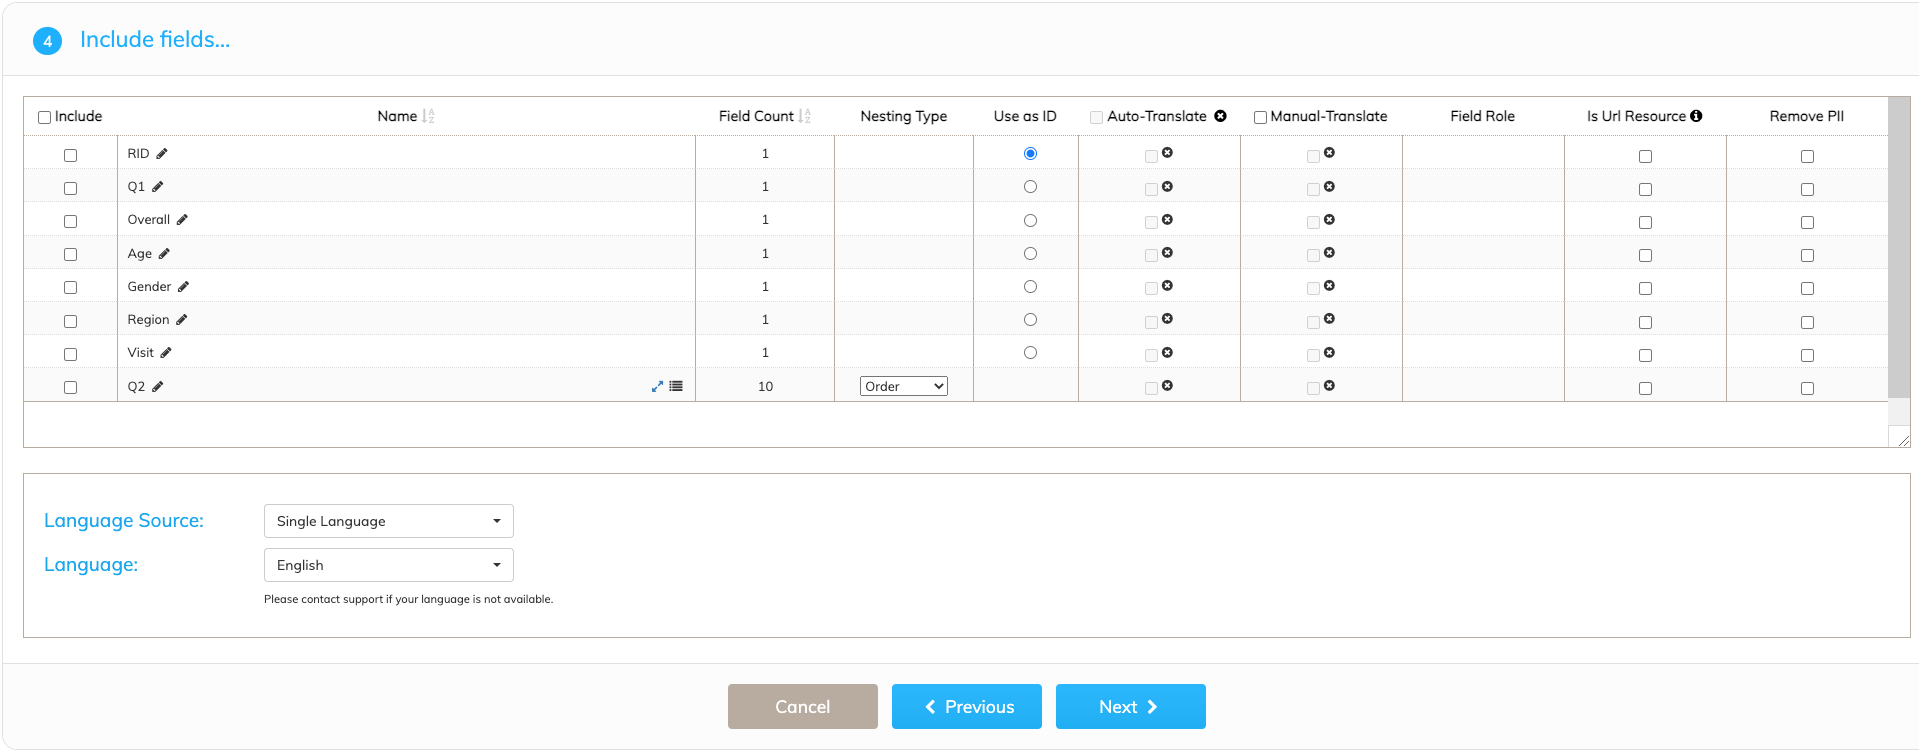
This step lets you specify which columns in the CSV file you selected earlier you want to import into Codeit. If you wish to import all columns in your CSV file into Codeit, do so by quickly clicking the Include checkbox in the top left of the table. The role of each column on this screen is as follows:
| Column | Description |
|---|---|
| Name | Displays the name of the field/column as denoted in the CSV file. |
| Field Count | Displays the number of columns found to contain the name of the field/column in the CSV file. This column is more useful when it comes to nested data, as it corresponds to the number of columns found to contain the naming convention of field/column name + nesting delimiter (which was specified in Step 2). |
| Nesting Type | Contains the option to specify which nesting type you want to use for a particular field/column. More information on nesting types can be found here. |
| Use as ID | Allows you to select a field/column as the Record ID (RID). The RID must be a value that is unique for all records. |
| Auto-Translate | If your CSV file is in a language that is not English, you may wish to use Codeit's auto-translate feature to translate import data into English. |
| Manual-Translate | Allows for the importing of separately translated verbatims |
| Field Role | When importing previously coded data files, this field will help to determine which columns contain the "Source" verbatims and "Target" pre-coded data. |
| Is Resource | Image files and other media files may be imported as URLs. This field helps to determine how the media files are displayed when coding. |
| Remove PII | When the verbatim are processed with Codeit Text Analytics or Codeit Theme Explorer, PII content will be hidden. |
This step also enables you to define the language(s) used in the file being imported. For more details, see here.
Step 4 - Import summary
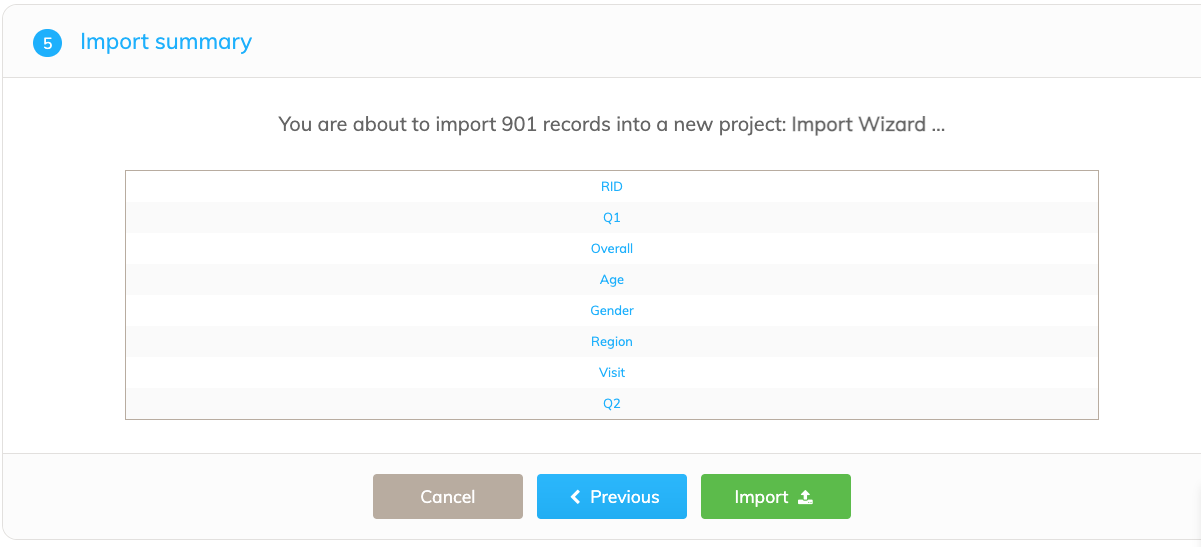
This step provides a summary of what you are about to import into Codeit based on your selections in the previous screen.
Once you are ready to import, click the Import button. If you need to make amendments, click the Previous button.
Step 5 - Import complete
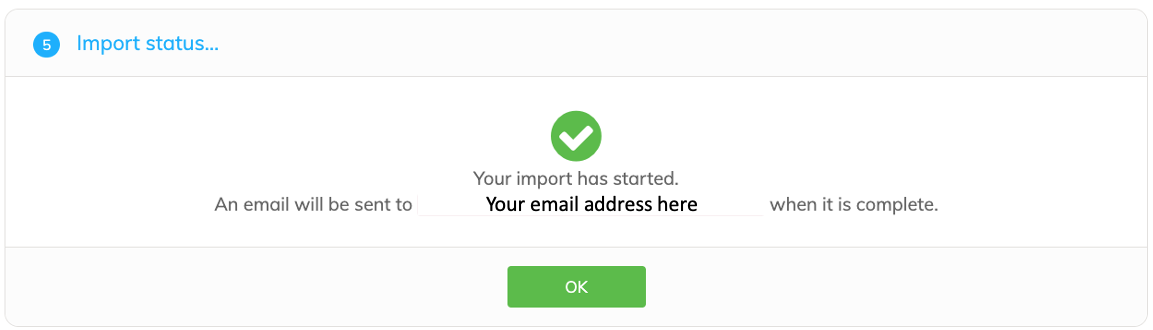
If the import process has begun, you should see the above screen. Click OK to go back to the project dashboard. An email will be sent to your address when the import is completed.