Working with Nets
Introduction
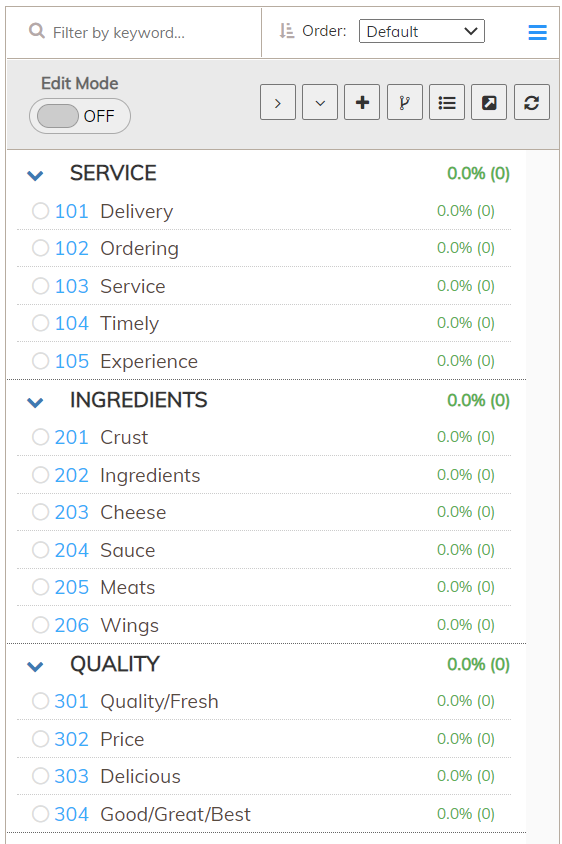
Nets allow you to organize your codeframe into categories:
Adding Nets
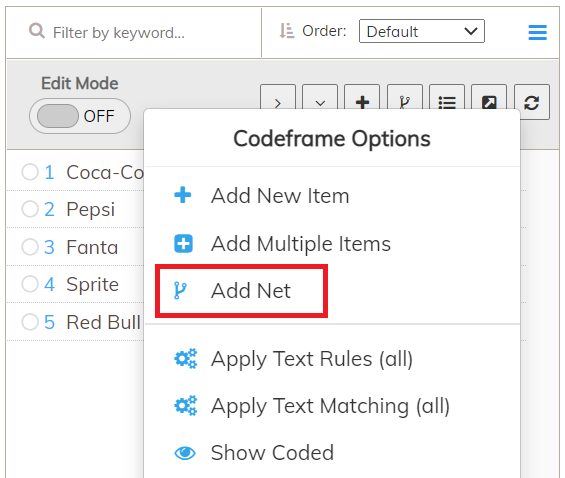
To add a Net, right-click on the codeframe toolbar area and select "Add Net"
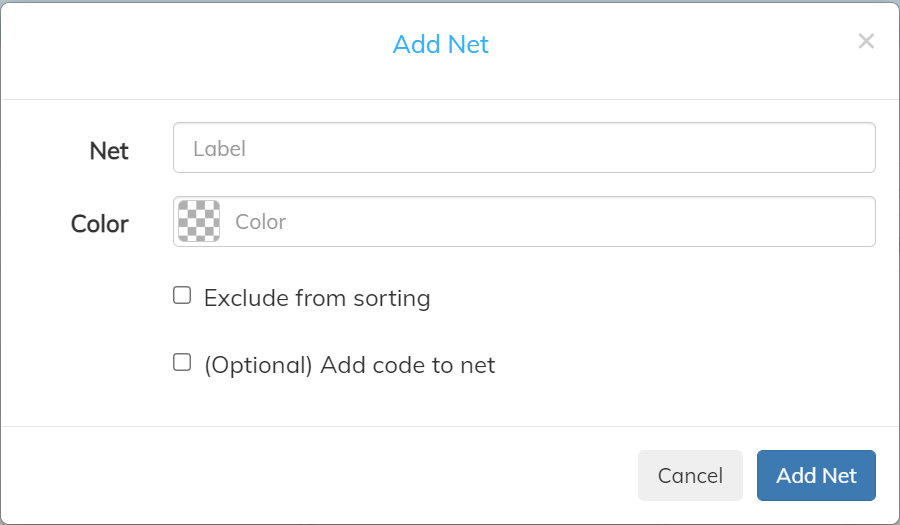
You can then choose the Label for your Net:
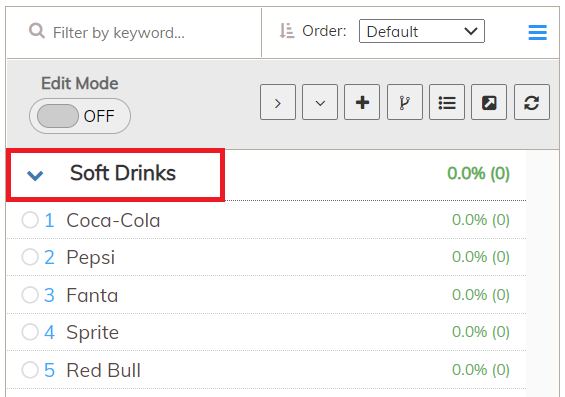
The Net will be added at the root level of the codeframe:
Adding a Sub-Net to an Existing Net
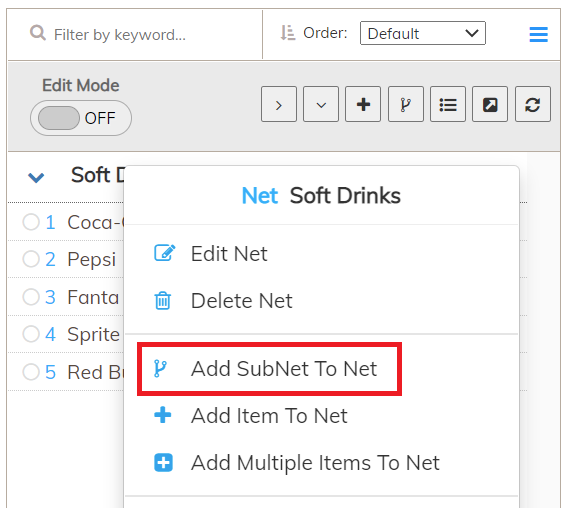
You can also add Sub-Net to an existing net. Right-click on the parent Net and select "Add SubNet To Net"
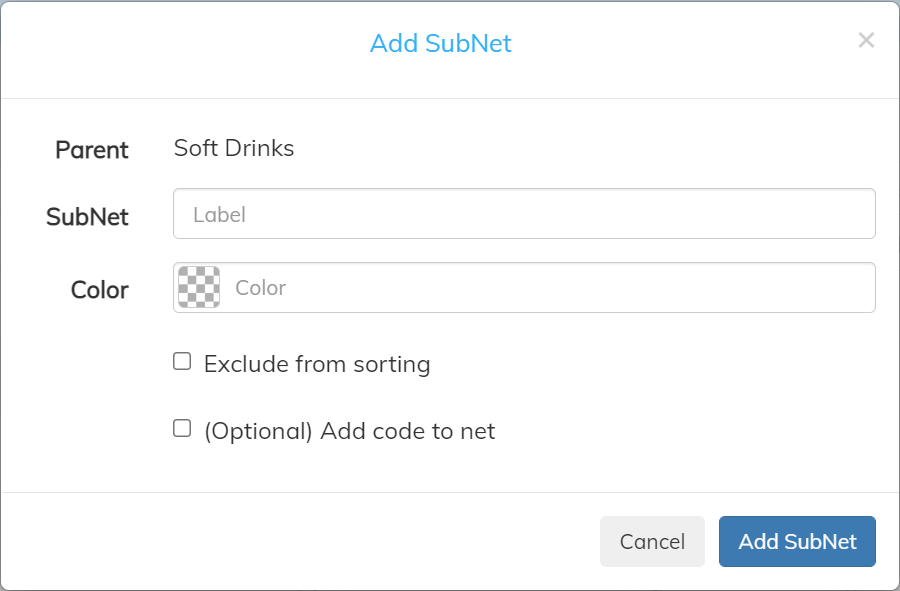
You will then be prompted with the same dialog as "Add Net":
Editing a Net
To edit a Net or Sub-Net, right-click on it and select "Edit Net"
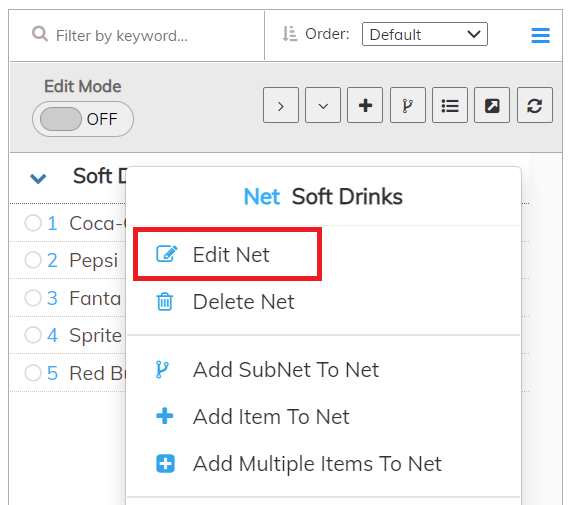
You will be presented with the same dialog as adding a Net, and you can change the Label and other settings.
Deleting a Net
To delete a Net or Sub-Net, right-click on it and select "Delete Net"
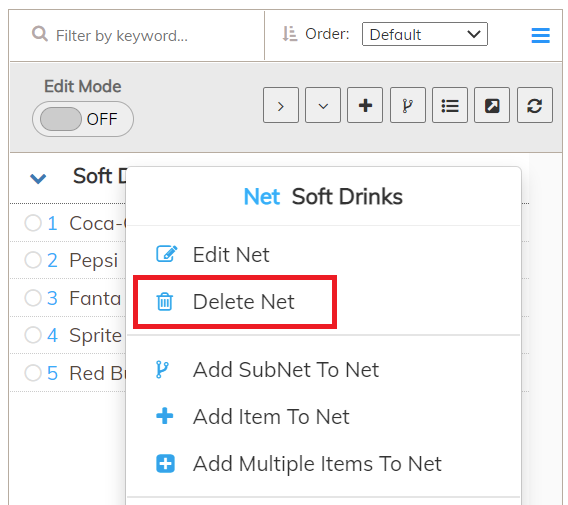
Confirm by clicking the "Delete" button in the confirmation dialog:

Organising Items into Nets
You can organise your items by moving them into and out of Nets and Sub-Nets. To do this you need to switch "Edit Mode" on, which will allow you to make multiple transformations to the codeframe before saving the changes.
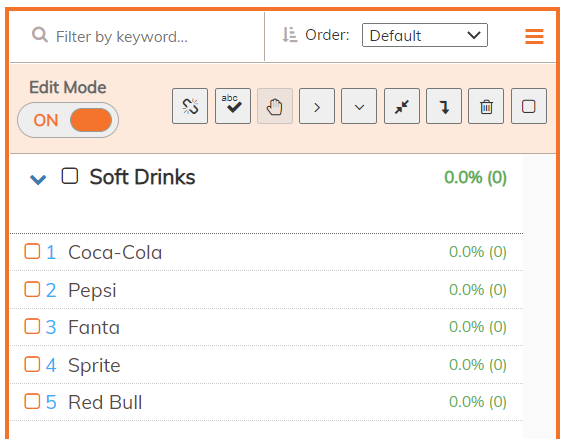
Moving a Single Item to a Net using Drag-and-Drop
The simplest way of moving an item in or out of a Net is to click it and drag it into the relevant Net. Placeholders will indicate where you are placing the item to help you move it to the correct position.
NOTE: To drag and drop items, the Order selection must be set to "Default"
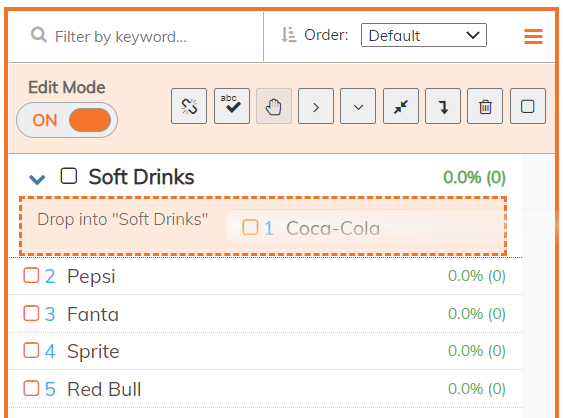
Moving Multiple Items into a Net using Multiple Select
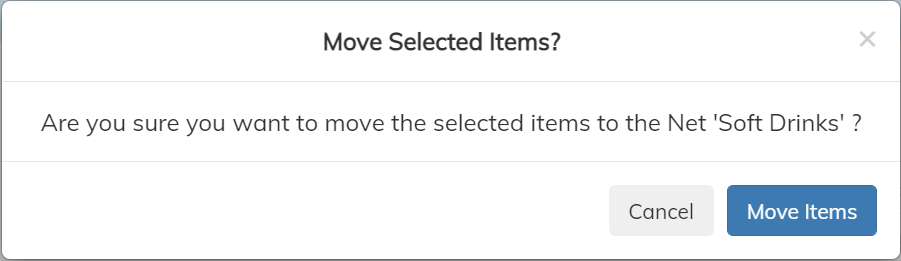
To move multiple items use the orange checkboxes to select the items and then right-click on the Net and select "Move Selected Items To Net"
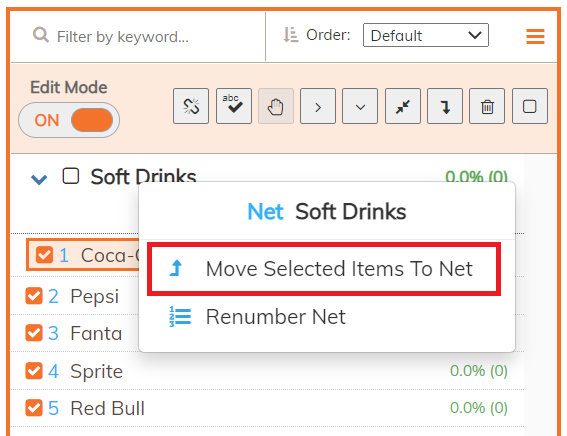
Confirm the move:
Moving Multiple Items out of a Net to the Root
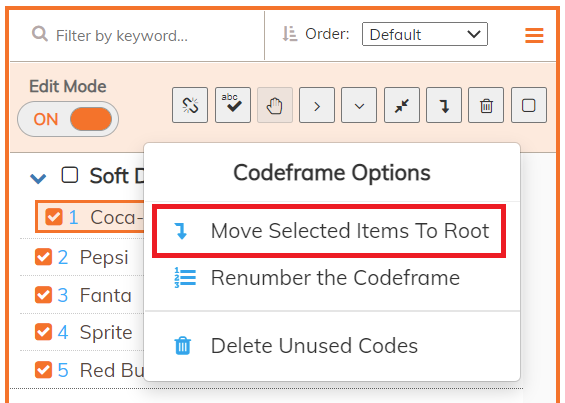
To reverse the process, select the items you want to move out of a Net then right-click in some empty space or on the codeframe toolbar and select "Move Selected Items to Root"
Saving Your Changes
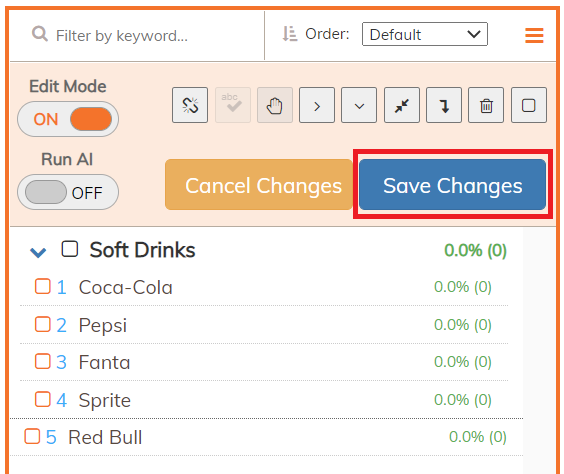
Once you have made all the changes you need, click the "Save Changes" button: